
Knowledge
How to run the reception for a product launch when press, KOLs and partners arrive together
A product launch rarely has just one type of guest. Reporters need to come early to set up cameras, KOLs bring camera crews, partners want to be received attentively, and the internal team stands backstage. If everyone queues in one line with the same kind of badge, launch day gets messy fast. This article divides guests into groups and ties each group to a desk, a badge and the data you need to collect.
Four guest groups and the different needs of each
| Group | What they need | What you need to know | How to invite |
|---|---|---|---|
| Press | Early entry, a spot for cameras, a press kit | Name, outlet or channel, phone number for later contact | Register, then approve by hand |
| KOLs, content creators | Clear on-camera timing, someone to receive them | Channel name, companion | Personal invitation, allowing 1 companion |
| Partners, customers | A formal welcome, good seating | Company, title, host in charge of reception | Invitation with a personal QR code |
| Internal team, sponsors, staff | Convenient access | Department, role | Import the list directly |
Each group should be its own ticket type within the same ticket product. That way you can count by group, each group gets its own ticket template and email template, and check-in statistics show progress by ticket type. All the guest groups of the launch can be tracked in Tickmi's event management tool.
Data design: which fields are really needed
Besides full name, email and phone number, create a few custom fields with the Fields button on the Attendees page, for example Company or outlet (free text), Title and Guest group (dropdown list: Press, KOL, Partner, Internal). Collect only what you will really use; the fewer the fields, the easier it is for registrants to fill in. This data can go onto badges, appear on the scan screen (if you enable display) and is included in the export file after the event. See how to create them in attendee management.
Inviting and approving: press and KOLs usually need screening
- Press and KOLs. Open registration for a separate ticket type, turn off Auto-approve registrations so you can review each application and approve individually or in bulk. Set Max tickets per registration to 2 if you allow a companion. See creating a registration page.
- Partners and customers. Import the list from Excel; each person receives a QR invitation with their own name and ticket. Do not make them fill in a form.
- Seats. Set the Number of tickets for each ticket type according to the capacity of the area. The system will not issue beyond this number.
Separate desks by group: what you can and cannot do
A common model is three desks: the Press and KOL desk (where press kits are handed out and the camera area is explained), the Partner desk (hosts with name and title), and a General desk for everyone else. Points to be clear on:
- Each desk is a separate scanning device, using the Tickmi Studio app or a barcode reader plugged into a computer.
- Tickmi does not block scanning at the wrong desk. A guest who goes to the wrong desk can still check in; staff look at the Ticket type on the result screen and point the guest to the right area. So make large signs coded by the color of each ticket type.
- For the crowd of general guests, set up a self check-in kiosk to free staff for the press and partner desks. Each kiosk can be given a Gate or desk name so you know where check-ins happened. See self check-in kiosk.
- A VIP who arrives without a ticket: search by name in the Attendees tab and check in manually; the displayed information is still complete.
The article on receiving VIP guests says more about welcoming important guest groups. Calculate staffing for each desk in how to calculate check-in lanes and staff.
Badges that tell groups apart: one template, many variants
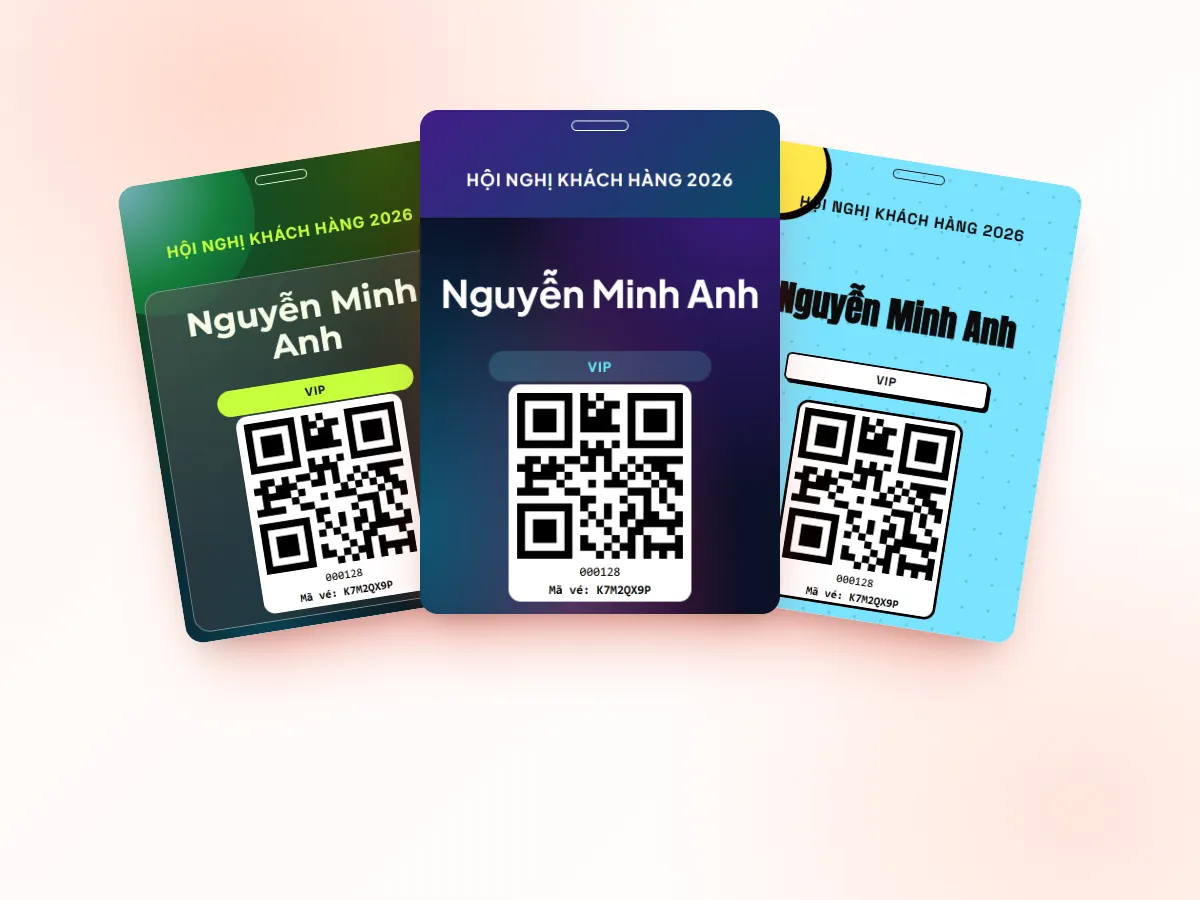
The badge is how staff inside recognize from a distance who belongs to which group, so the layout must be easy to tell apart. In the designer, the Show conditionally section lets an element appear only when a field equals, differs from, contains, has data or is empty. Use it to:
- Print the "PRESS" label only for people in the press group, and the "VIP" label for the partner group.
- Print the outlet or channel line only if that field has data.
- Change the color band by group by stacking elements with different conditions on the same template.
A badge template can be one or two sided, printed on A4 sheets with several badges per sheet or on exact badge-size stock. Do a test print first to check that the back matches the front. See conference badges: size and content.
Printing badges at check-in with the Print Station
Instead of pre-printing everything, many launches choose to print badges on the spot so each badge is always accurate for the person who actually arrives. On the computer connected to the printer, open Print Station, choose to print Badges, then choose Check-in sources to print and untick the ticket types that do not need printing at that station. For example, one station prints only for Press and KOLs, another only for Partners. From the moment you click Start, every successful check-in prints automatically; failed scans or already-checked-in tickets do not print. The full guide is in printing labels and badges.
Be careful about speed: an office printer takes a few seconds per badge, so for a press group arriving in a rush, pre-print badges for those already approved and keep the Print Station for latecomers or last-minute additions.
Welcome screen and statistics in the lobby
The welcome screen shows the name of the guest who just checked in, optionally with that person's ticket type. For partners and KOLs, it is a small touchpoint that makes an impression right at the door. You can create several screens, each following a separate check-in source. The statistics screen is for the coordination team in the back, showing the arrival rate by ticket type to decide when to start the program. See the welcome screen.
The manual approach for a small launch
For around 30 to 50 guests, a spreadsheet, a few handwritten badges and a receptionist holding the list are enough. Bottlenecks appear when the press list changes constantly up to the last minute, when a companion has no name on the list, or when you want a list of people who came to send materials and track coverage. The article Google Form, Excel or a ticketing platform helps you weigh it up.
After the launch: turn the list into data for PR
The Owner or Administrator clicks Export data to get an Excel file with full name, company, ticket type and check-in status. The PR team uses the list of people who came to send thank-you notes with a set of images, and to track coverage from each outlet or channel. This list contains personal data, so share it only with those who need it; see protecting attendee data. For more figures to track, see the post-event report.
The overview of the reception and check-in solution is on the check-in software page.
About Tickmi
Tickmi is a ticketing and attendee experience platform (Ticketing & Participant Experience Platform). On a single, unified set of attendee data, Tickmi connects the whole journey: issuing invitation, registration and paid tickets, sending branded QR tickets, checking in with the app, kiosk or scanner, even when the network is down, then the welcome screen, lucky draw, voting, quizzes and surveys. Tickmi is trusted by organizations such as Viettel, VNPT, MobiFone, FPT and CMC. Learn about Tickmi or try it free.
Frequently asked questions
Can I set up a separate desk that accepts only press tickets?
You build a separate desk with a scanning device and signs. Tickmi does not block scanning at the wrong desk; staff look at the Ticket type on the result screen to direct guests to the right area.
How do I print different badges for press, KOLs and partners?
Use Show conditionally in the designer so an element such as a PRESS or VIP label only appears for people in the matching group. One badge template can serve many groups.
Does press registering online need approval?
It is up to you. If you turn off Auto-approve registrations on the press ticket type, applications go to Pending approval, and you approve individually or in bulk before tickets are sent.
What if a guest arrives without a ticket?
Staff search by name, phone number or email in the attendee list and mark the guest as checked in, or enter the 8-character ticket code if the guest can read it out.
Issue QR tickets, send emails, check in and engage attendees on one platform.