
Knowledge
Registration, badges and attendance certificates for academic conferences: done in 5 milestones
Academic conferences and professional meetings have details that parties and trade fairs do not: academic rank, degrees, affiliation, speakers, reviewers, and at the end of the program, an attendance certificate. This article follows five milestones, from opening registration to finalizing the list of certificate recipients.
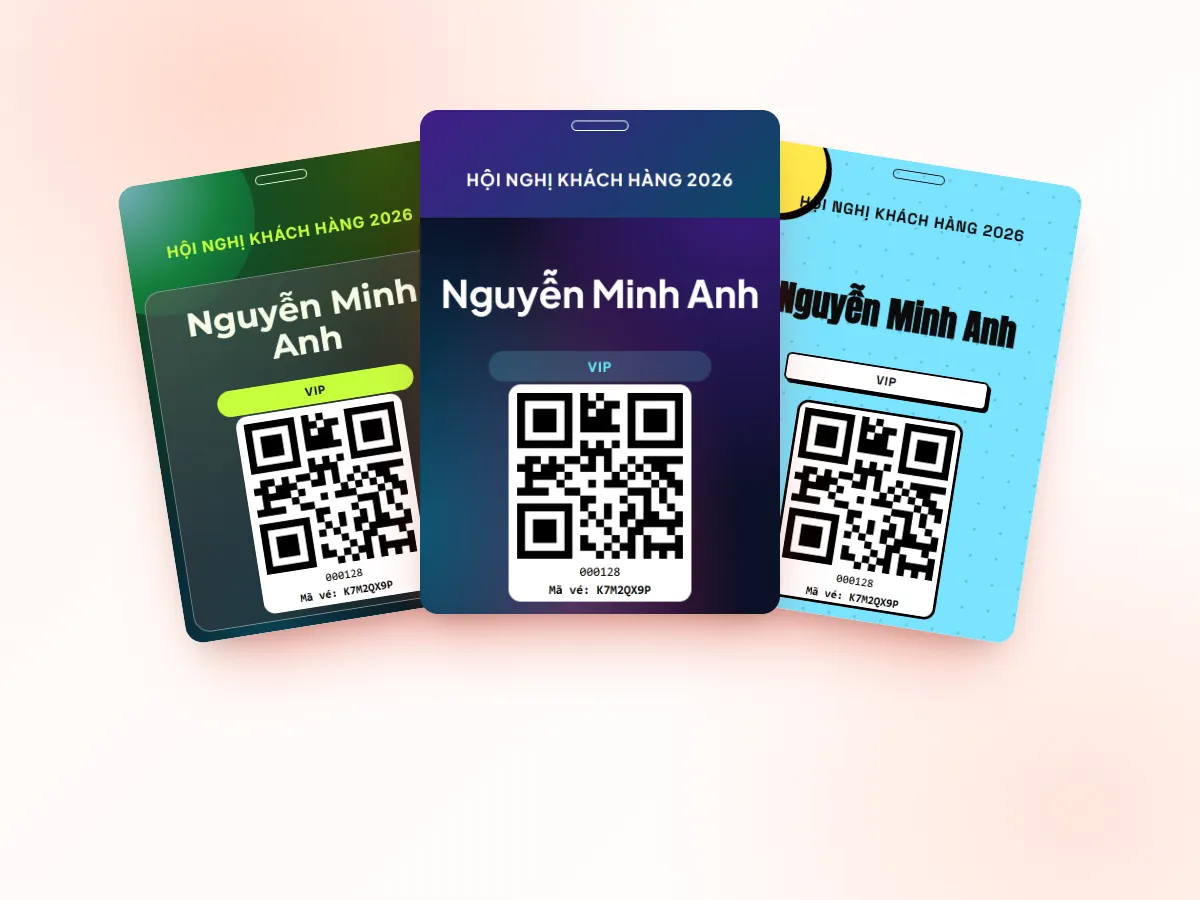
Milestone 1: decide what information to collect at registration
An academic conference's list is usually used for four things: printing badges, scheduling sessions, producing certificates and sending the proceedings. So collect everything up front, and do not come back to ask for more after tickets have gone out. Suggested columns:
| Information | What it is used for | Input type to choose |
|---|---|---|
| Full name, exactly as it should be printed | Badge, certificate | Text. State clearly: spell it correctly, with diacritics |
| Academic rank, degree (Prof. Dr., Assoc. Prof. Dr., MSc...) | Badge, delegate list | Dropdown list so no one types it their own way |
| Affiliation | Badge, proceedings, certificate | Text |
| Role: speaker, reviewer, delegate, organizer, student | Badge color coding, access to areas | Use ticket types (see milestone 2) |
| Email, phone number | Sending tickets, contact when the schedule changes | Built-in fields |
| Portrait photo (if printed on the badge) | Badge with photo | Image type |
In Tickmi Studio, columns such as academic rank or affiliation are custom information fields (Settings → Information → Attendee fields), of type Free text, Dropdown list or Image. See details in the attendee management guide. If delegates register themselves, the fields that are turned on appear in the form; see the guide to creating a registration page.
Milestone 2: classify attendees and choose how to approve
Have at least three groups: speakers and guests, registered delegates, organizers and volunteers. Each group is its own ticket type, so badges get different colors and check-in statistics split by group.
- Speakers, reviewers, guests: import from Excel, no registration needed. Tickets go straight out by email.
- Self-registering delegates: open registration for the ticket type and set the opening and closing time. If the conference restricts its audience (teaching staff only, master's students only...), turn off auto-approval so the organizers approve each person, or use Approve selected in batches.
- Conferences with an attendance fee: use an on-sale ticket type instead of open registration, see online ticket sales. For a school's delegation, agree in advance who receives the invoice and which email receives the tickets.
Milestone 3: designing badges for an academic conference
An academic conference badge differs from a party badge in that people read the name, rank and affiliation to start a conversation. Some principles:
- The name is largest, academic rank and degree sit right before the name, and the affiliation is smaller below. Test with the longest name and the longest affiliation in the list.
- The role (Speaker, Delegate, Organizer) is printed as its own text band with a background color. Do not rely on color alone because color-blind people, or yellow hall lighting, make colors hard to tell apart.
- The back prints the session schedule, meeting rooms and wifi. Still print the name on both sides, because badges often flip over.
- Place the QR code where it is easy to scan, with a white border, not overlapping text. See also conference badge size and content.
In Tickmi's designer, each person's information is filled in automatically; you can set Max lines so overly long names or affiliations are cut with "...", and use Show conditionally to print the "Speaker" label only for the right group. Badges can be one or two sided. How to print is in the label and badge printing guide, with an overview in the badge printing solution.
Milestone 4: reception, badge printing and attendance on the day
There are two ways to print badges; choose by how stable the list is:
| Bulk pre-printing | On-site printing at check-in | |
|---|---|---|
| Suited to | Speakers, guests, organizers: a certain list | Registered delegates: many change their minds or arrive late |
| How | Print by ticket type, turn on Only tickets without a printed badge to avoid duplicates | Open Print Station on the computer connected to the printer; each successful check-in prints a badge automatically |
| Risk | Spare badges for no-shows, hunting for a badge in the pile | Needs a stable printer, adds a few seconds per person |
The most common approach is a combination: pre-print badges for the guest group, print on-site for delegates. With an office printer, choose A4 paper with cut lines; choose "Exact badge size" only when using a card printer. Staff scan the QR code with the app, or search by name when a delegate forgot the ticket; details are in check-in with the Tickmi Studio app.
Two- and three-day conferences usually use one ticket for the whole program: set Check-ins per ticket to the number of days, or create one ticket type per day. Check-in is at the program level, not per session, so if you need to control numbers at a workshop with limited seats, split that workshop into its own ticket type or ticket product. The options are compared in multi-day, multi-session events.
Milestone 5: finalize the list for attendance certificates
Attendance certificates are a post-event job. The general principle: only people who were really present receive one, and the list must be finalized from check-in data, not from the registration list.
- Close check-in, then on the Attendees page click Export data. The Excel file contains full name, affiliation, ticket type and each person's check-in status column. Note that only Owners and Administrators can export.
- Filter for people who checked in. Handle separately the cases "registered but someone else entered", and "attended only half a day" according to the rules you announced in advance.
- Proofread the full names and academic ranks in the file once more. Name errors on certificates are the most complained-about mistake.
- Create certificates in bulk from the file with a tool you are familiar with, for example mail merge in Word or bulk generation in Google Slides or Canva, then export to PDF and email each person.
The steps of creating and sending certificates are outside Tickmi Studio; what Tickmi does is give you an accurate checked-in list to carry out the steps above. If the certificate is tied to continuing training hours or credits, ask the credit-granting body about attendance requirements before organizing; do not guess.
It is good to make a clear promise on the registration page, for example "Certificates are emailed within X days after the conference to people who checked in", so attendees do not have to ask one by one.
Common mistakes at academic conferences
- Names and academic ranks typed by delegates themselves. Everyone abbreviates their own way; use a dropdown list for academic rank and degree.
- Not asking early about people who submit papers but do not attend. The author list is not the list of people present; separate these two groups when making certificates.
- Printing badges before the registration list stops changing. For delegates, prefer on-site printing.
- Forgetting spare badges. Prepare blank badges and someone to enter details by hand for walk-ins. See also the check-in desk checklist.
About Tickmi
Tickmi is a ticketing and attendee experience platform (Ticketing & Participant Experience Platform). On a single, unified set of attendee data, Tickmi connects the whole journey: issuing invitation, registration and paid tickets, sending branded QR tickets, checking in with the app, kiosk or scanner, even when the network is down, then the welcome screen, lucky draw, voting, quizzes and surveys. Tickmi is trusted by organizations such as Viettel, VNPT, MobiFone, FPT and CMC. Learn about Tickmi or try it free.
Frequently asked questions
How do I make attendance certificates from the check-in list?
Click Export data on the Attendees page to get an Excel file with check-in status, filter the people who were present, proofread, then create certificates in bulk with a familiar tool such as Word, Google Slides or Canva and email each person.
How do I print academic rank, degree and affiliation on badges?
Create custom information fields (for example Academic rank, Affiliation), enter them or collect them through the registration page, then insert them into the badge template with Auto-filled information in the designer.
How does check-in work for a multi-day conference?
You can set Check-ins per ticket to the number of days to use one code, or create one ticket type per day. Every scan records the time, so you can filter by day or export to Excel.
Should I print badges in advance or on-site?
Print in advance for certain groups such as speakers and guests; print on-site with Print Station for registered delegates, because that group's list often changes close to the start.
Issue QR tickets, send emails, check in and engage attendees on one platform.