
Knowledge
Check-in desk checklist: from the days before to after the event
The check-in desk is attendees' first touchpoint. This checklist helps you miss nothing, from the list and equipment to handling incidents.
Before the event
Attendee list
- Standardize the data: full name, email, phone number, ticket type, organization.
- Remove duplicate records and check for badly formatted emails.
- Agree on which fields to show when scanning (name, ticket type, VIP notes, etc.).
Ticket delivery and reminders
- Send QR tickets early so attendees have time to check them.
- Monitor failed emails and resend them.
- Send a reminder close to the date, reminding people to bring the ticket on their phone.
- State the venue, the check-in desk opening time and the entrance clearly.
Dry run
- Scan a few real tickets on every device you will use.
- Print a test badge or sticker to check the paper size and margins.
- Test the lost-connection scenario if you use offline mode.
Equipment
- Phones with the scanning app installed and signed in, fully charged, with a power bank.
- Barcode scanners if you need high speed or have many paper tickets.
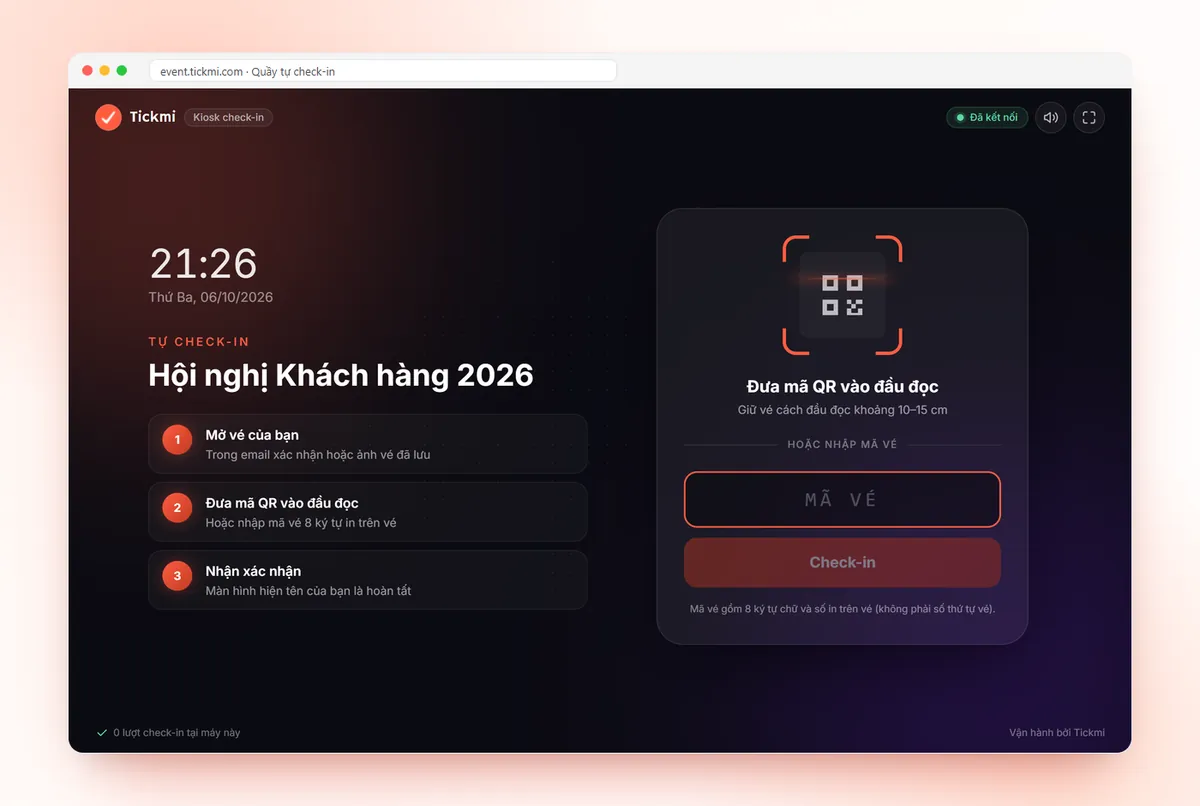
- Kiosks (tablets on stands) for attendee self check-in.
- Sticker or card printers if you print badges on site; prepare enough paper, ink and card blanks.
- Network: a dedicated wifi for the desk and a backup 4G connection.
- Power outlets, extension cords, tables, signage.
Check-in lane layout
- Separate lanes by ticket type (VIP, speakers, press, regular attendees) if applicable.
- Set up a separate support desk for special cases so they do not block the main lane.
- Put a “Have your QR code ready” sign at the head of the line.
- Arrange a one-way flow: queue → scan → collect badge → enter.
- Estimate the number of lanes from the expected headcount and the peak time window.
Staffing
- Assign clear roles: scanner, badge handler, support, desk lead.
- Give a short briefing on how to scan and how to handle error messages.
- Prepare a technical contact phone number.
- Have backup staff for peak hours.
Handling common situations
| Situation | How to handle it |
|---|---|
| Forgot the ticket, cannot find the email | Look up by name, phone number or Ticket code at the support desk |
| Wrong name or information | Verify through contact details, update the data, then check in |
| Unregistered person arrives | Follow your policy: add them at the desk or politely decline |
| Ticket shows as already used | Send them to the support desk and check the ticket's check-in history |
| Lost connection | Switch to backup 4G or scan offline, then sync when the network returns |
| Printer breaks down | Let people in first, print badges later, or use a temporary handwritten badge |
During the event
- Watch the stats screen to see the arrival rate and direct staff accordingly.
- Open more lanes when the line gets long and close some when it is quiet.
- Note incidents so you can learn from them.
After the event
- Sync all data from offline devices and resolve duplicate scans.
- Export reports: registrations, arrivals, by ticket type, by time slot.
- Send a thank-you email and survey to those who attended.
- Collect the equipment and summarize lessons for next time.
Tips for keeping the line short
- Remind people to open their ticket before their turn: a coordinator walks along the line reminding attendees to have the QR code open and turn up screen brightness.
- Separate people who need help early: anyone who cannot find their ticket is guided to the support desk right away instead of waiting in the scan lane.
- Self check-in kiosks: place a few kiosks for people who already have tickets; staff only guide and hand out badges.
- Print badges in parallel: if you print badges on site, separate the scanning step from the badge pickup step so the printer does not clog the lane.
- Open early on purpose: announce the desk opening time clearly so attendees arrive spread out instead of crowding right before the opening.
Preparing your check-in desk with Tickmi
Tickmi supports the whole process: attendee management, sending QR tickets by email, check-in with the Tickmi Studio app, barcode scanners or kiosks, offline scanning, sticker and badge printing, and a check-in stats screen.
- Event check-in software · Check-in kiosk · Badge printing
- Managing attendees
- Printing stickers and badges
- Calculating staff and check-in lanes
Frequently asked questions
How long before the start should the check-in desk open?
It depends on the scale, but open early enough that most attendees get in before the opening and the desk can handle the peak window.
Do I need a dedicated scanner?
Not required. A phone with the app can already scan; a barcode scanner is faster when there is a crowd or many paper tickets.
What if the connection drops midway?
Switch to a backup connection or use offline scanning mode, then sync the data once the network is back.
Issue QR tickets, send emails, check in and engage attendees on one platform.