
Knowledge
How to lay out check-in lanes on a floor plan so the entrance never jams
Having enough staff and enough equipment but still ending up with a jammed entrance is common, because the cause is the space: queues that block the exit path, a help desk placed in the middle of the crowd flow, screens washed out by sunlight. This article follows the route attendees take when they walk in, to put each zone, each sign and each device in the right place.
Two different questions: how many lanes, and where to put them
How many lanes to open is a numbers problem, with a formula in the article calculating check-in staff and lanes. Where to put those lanes, which way people walk, and where they wait is a space problem, and it is the subject of this article.
The to-do list before doors open is in the check-in desk checklist, and desk incidents are covered in 8 tricky situations at the check-in desk.
Divide the space by the order attendees pass through
The easiest way not to miss anything is to follow one person from outside the gate into the hall and name each stop:
| Order | Zone | What happens here | What you need |
|---|---|---|---|
| 1 | Outer buffer zone | Early arrivals wait for doors to open and read signs | Seating, a canopy, a sign with desk opening time |
| 2 | Queueing zone | People are split into lanes | Barriers or rope, signs, one coordinator |
| 3 | Scanning lanes | Scan tickets, record check-ins | Scanning devices, scanners, enough light |
| 4 | Badge and gift pickup | Hand out badges, materials, gifts | Placed a little past the scanning lanes, not attached to them |
| 5 | Inner entrance | Checked-in people walk in | A clear path that does not cross the queues |
| Side | Help desk | Forgotten tickets, wrong details, on-site registration | A computer, the registration link, radios or phones |
| Side | Organizer control area | Monitor progress, handle incidents | A statistics screen, power, a backup network |
Draw the floor plan before you get to the venue
- Ask for the venue's floor plan and mark the entrances, hall doors, power outlets, wifi spots and emergency exits. Emergency exits must never be blocked by queues or desks.
- Place the queueing zone and scanning lanes first, and only then the badge pickup and the help desk.
- Draw one-way arrows from the entrance to the hall. If two arrows cross, that spot will jam.
- Mark distances between zones so you know how far the longest queue will reach.
- Print the plan for staff and label each lane (Lane 1, Gate A...) so everyone uses the same names on the radio.
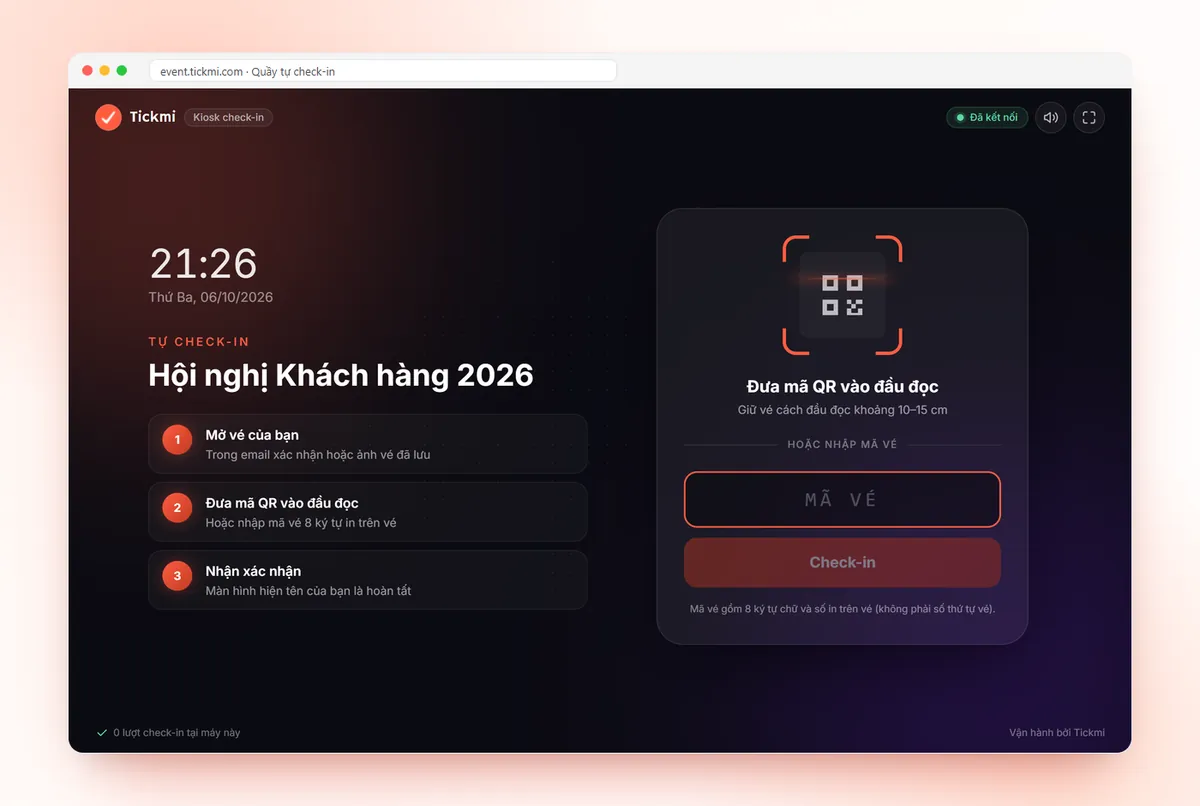
If you use kiosks, set the Gate / desk name to match the name on the plan, such as "Gate A", so the scan history shows where each check-in happened. See self check-in kiosk.
Estimate queue length
How long the queue gets decides whether you have room for it or need to fold it into an S shape. A simple formula for planning:
Queue length = number of people queuing in each lane × spacing between two consecutive people.
The spacing figure below is only an assumption for calculation, not a standard figure. Measure it in practice during a rehearsal with real people:
| Assumption | Value |
|---|---|
| People queuing at the same time at peak | 100 |
| Open lanes | 5 |
| People per lane | 100 ÷ 5 = 20 |
| Spacing between two consecutive people (assumed) | about 0.6 m |
| Queue length per lane | 20 × 0.6 = 12 m |
A 12 m queue per lane is much longer than the front of a desk. There are two ways to handle it: one shared queue feeding several lanes (the person at the head goes to whichever lane just freed up) instead of a separate queue per lane, or folding the queue into an S shape with barriers so it fits inside the lobby. A shared queue is usually fairer because nobody gets stuck behind one difficult case.
People flow: one-way, split early, no crossing
- Separate people who need help right at the queueing zone. The coordinator walks along the queue and says "if you have no ticket, forgot your ticket or have not registered, please go to the help desk". Do not let them wait all the way to the front of a lane only to find out they cannot be scanned.
- VIP and speaker lanes use their own route and do not cut across the regular queue. If there is no room, set up a separate lane right at one side with someone to guide them.
- People who have checked in do not walk back through the queue: the exit from the lane points straight inside.
- Put the help desk to the side, not on the walking path.
- Easy access for wheelchairs and older people: no steps, no narrow barriers.
Signage: where to put it, what to write
| Location | Sign content |
|---|---|
| Outside the gate, where new arrivals can see it | Event name, "Check in here", desk opening time |
| Start of the queueing zone | "Open your QR ticket on your phone and raise your screen brightness" |
| Branching point | "Have a ticket: Lanes 1 to 4", "VIP, speakers: right side", "Press: separate desk" |
| Help desk | "Forgot your ticket, need help, on-site registration" |
| After the scanning lane | "Pick up your badge", "Welcome to the hall" |
Signs need large text, high contrast, placed at eye level and readable from the back of the queue; one message per sign. If you have international guests, write them in two languages.
A waiting area for early arrivals
Attendees often arrive before the desk opens. Without a place to wait, they crowd into the lanes before staff are ready. The buffer zone needs a canopy if it is outdoors, chairs for older people, and it should not block the doorway. Announcing the desk opening time in reminder emails at T-3 and T-1 helps people arrive more evenly; for scheduling, see email schedule before the event.
Place devices along the flow
- Lighting. Avoid putting a scanning lane right under slanting sunlight or a spotlight: phone cameras and ticket screens are both hard to read.
- Self check-in kiosks. Place them as a cluster at the start of the queueing zone for people who already have a ticket, with staff standing in the middle to guide. See check-in kiosk.
- Welcome screen. Place it past the scan point, facing both the attendees who just went through and those still in the queue. Tickmi lets you create several welcome screens, each following its own check-in source, so a side gate can have its own screen. See the welcome screen guide.
- Statistics screen. Place it in the organizer control area, not where people queue. Real-time numbers help you decide whether to open more lanes or close some. See check-in statistics screen.
- Badge and label printers. Place them at the badge pickup, a little away from the scanning lane so printing does not hold people up in the lane. Tickmi's print station prints automatically on a successful check-in; see printing labels and badges.
- Power and network. Each lane has an outlet or backup battery, with cables tucked away so nobody trips. Provide a dedicated wifi for the desk and a backup 4G connection; before doors open, staff open the app and go to More → Operations → Offline check-in and tap Download offline data while still online. See check-in with the Tickmi Studio app.
Walk it through before the real day
- Set up the check-in area according to the plan and have 10 to 20 people play attendees walking from the gate to the hall.
- Time it from joining the queue to entering the hall, and note which point takes longest.
- Check whether the signs are readable from the back of the queue and whether the emergency exit is clear.
Check-in lane layout checklist
- There is a floor plan showing doors, outlets, wifi, emergency exits and each lane; the flow is one-way with no crossings.
- The estimated queue length fits within the available space.
- The help desk and VIP lane are separated from the main flow of people.
- There are signs at all five main locations, readable from a distance.
- You have done one walk-through with real people and adjusted based on the result.
The whole process of ticket scanning, desk check-in and progress tracking is part of Tickmi's event check-in software solution.
About Tickmi
Tickmi is a ticketing and participant experience platform. On a single, unified set of attendee data, Tickmi connects the whole journey: issuing invitation, registration and paid tickets, sending branded QR tickets, checking in with an app, kiosk or scanner (even offline), and then moving on to the welcome screen, lucky draw, polls, quizzes and surveys. Tickmi is trusted by organizations such as Viettel, VNPT, MobiFone, FPT and CMC. Learn about Tickmi or try it free.
Frequently asked questions
Should I use one shared queue or a separate queue for each lane?
A shared queue feeding the lanes is usually fairer, because nobody gets stuck behind one difficult case in a separate lane. A queue per lane is easier to set up but needs a coordinator walking along the queue to move people to emptier lanes.
Where should the help desk go?
Put it to the side of the check-in area, not on the walking path. Separate people who need help right at the queueing zone so they do not wait all the way to the front of a lane only to find out they cannot be scanned.
Where should the welcome screen and the statistics screen go?
Place the welcome screen past the scan point, facing the people who just checked in and those still in the queue. Place the statistics screen in the organizer control area to monitor progress and decide whether to open more lanes or close some.
How do I know how long the queue will be so I can choose the space?
Multiply the number of people queuing in each lane by the spacing between two consecutive people. That spacing is only a planning assumption, so measure it in practice during a rehearsal with real people and adjust the plan.
Issue QR tickets, send emails, check in and engage attendees on one platform.