
Knowledge
The event management process: from plan to report in 5 stages
The event management process has 5 consecutive stages: planning, collecting the attendee list, issuing and sending tickets, running the event day, then wrap-up. Each stage should end only when there is a clear "output" — a table, a list, a report. This guide lists those outputs, who is responsible, and the mistakes that make an event chaotic at the last minute.
The event management process summarised in one table
You can use the table below as a framework for any event, from a 100-person seminar to a festival day with thousands of visitors. The "output" column is what you need before moving to the next stage.
| Stage | Timing (suggested) | Required output | Responsible |
|---|---|---|---|
| 1. Planning | D-30 to D-14 | Table of goals, expected attendance, ticket types, milestones | Organising lead |
| 2. Collecting the list | D-21 to D-5 | A clean attendee list with no duplicates | Registration owner |
| 3. Issuing tickets and reminders | D-7 to D-1 | Every person has an individual QR ticket, sent by email or Zalo | Communications owner |
| 4. Running the event day | Day D | Real-time check-in numbers, incidents logged | Gate team lead, MC |
| 5. Wrap-up | D+1 to D+3 | Attendance report, exported data, lessons for next time | Organising lead |
The timings above are a hypothetical example for an event of about 300 people; larger events should start stages 1 and 2 earlier.
Stage 1: planning — settle the numbers before the tools
Bottom line: good planning starts with three numbers — expected attendance, number of ticket types and number of check-in points. If any one is missing, every later step has to be redone.
- A measurable goal: for example "300 registrations, at least 70% attending", not "a successful event".
- Ticket types: guests, delegates, press, staff… Each ticket type should have its own ticket template and entry rights.
- Number of entries: multi-day events need to decide whether a ticket can be scanned once or several times (on Tickmi this is the Check-ins per ticket field).
- Interactive activities: whether there will be a lucky draw, voting or surveys — so you prepare the data from the start.
This is also the time to choose tools. If you are torn between Excel, Google Forms and a platform, see criteria for choosing ticketing and check-in software or the overview of event management software.
Stage 2: collecting the attendee list — a single source
Bottom line: every attendee must be in one single list, whether they come from a registration form, HR's Excel file or manual entry.
Two common ways in:
- Existing guests: use Excel import to bring the list in. Note that on Tickmi, Excel import only adds new people and does not update existing ones — to change information, edit each person directly.
- Open registration: create a Registration page with the questions you need. If you need to screen people before issuing tickets, turn on the Approval step. How to build the page is in the guide to creating a registration page.
Form questions should be short: name, email or phone number, organisation and at most 2–3 questions that directly serve the event. Specific suggestions are in what to ask on a registration form.
Stage 3: issuing tickets and sending them to attendees
Bottom line: one ticket with its own QR code per person — this is the condition for stage 4 to run fast and count correctly.
- Design the ticket template and email template once per ticket type, then Issue tickets for the whole list.
- Send tickets by email; for people who mostly use their phone, you can also send via Zalo.
- Check for failed emails (mistyped addresses, non-existent mailboxes) and fix them right away; do not wait until the event day.
- Send a reminder email 1–2 days before the event. Tickmi has no scheduled email sending, so set reminders on the team calendar.
On cost: events that do not sell tickets can choose an event package (by maximum number of attendees, applying to 1 ticket product) or a quota package (pay per ticket issuance, quota does not expire). Events that sell tickets through Tickmi only pay the ticket sales fee, with no package to buy. New accounts get 100 free ticket issuance quota to try — details on the pricing page.
Stage 4: running the event day — the entrance sets the first impression
Bottom line: most day-D incidents show up in a dry run, so do not skip this step. Spend 30 minutes the day before test-scanning a few real tickets at the actual venue.
| Task | How |
|---|---|
| Permissions for gate staff | Create accounts with the Check-in staff role: scan tickets only, no viewing or editing data |
| Venue with weak signal | Tap Download offline data in the app while still online |
| Several doors, several desks | One scanning account per point so you can later filter By scanner |
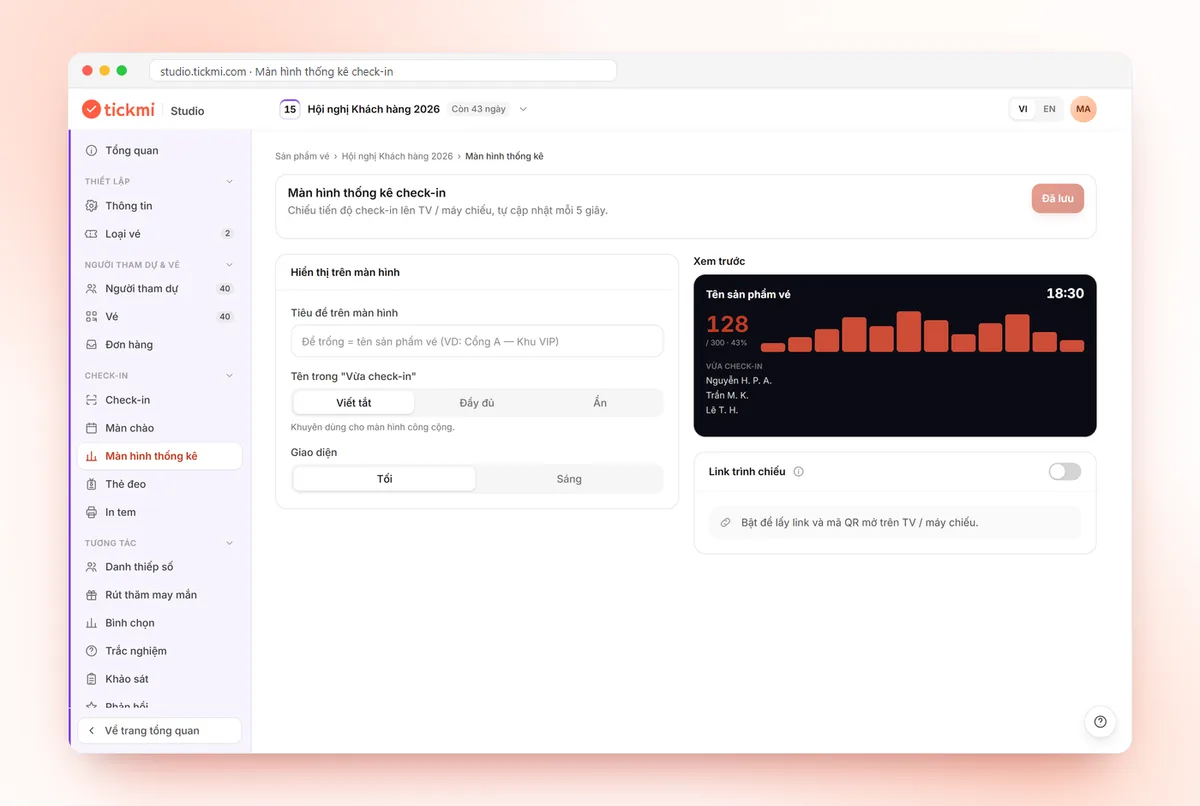
| Monitoring visitor flow | Check-in statistics screen for the lead to see how many people have entered |
| Stage interaction | Lucky draw, voting and surveys prepared in advance in the same ticket product |
Detailed entrance procedures are in QR code check-in step by step and handling situations at the check-in desk.
Stage 5: wrap-up — close the event management process with numbers
Bottom line: write the report within 1–3 days after the event, while the numbers and the team's memory are fresh.
- Look at the Summary report: registrations, attendance and attendance rate by ticket type.
- Open the Scan history to check peak hours and which desk was busiest.
- Export data to archive or send to other departments (this function is for the Owner and Administrators only).
- Send a thank-you email with a short survey; write down 3 things that went well and 3 things to fix.
A report framework template is in post-event report.
Event management process checklist (short version)
- ☐ A measurable goal and expected attendance are set
- ☐ Ticket types and check-ins per ticket are decided
- ☐ The attendee list is in one place, with no duplicates
- ☐ 100% of attendees have received a QR ticket, failed emails fixed
- ☐ Check-in staff accounts created and a dry run done at the venue
- ☐ Offline data downloaded if the venue has weak signal
- ☐ Someone is in charge of watching check-in numbers during the day
- ☐ Summary report and thank-you email sent within 3 days
Common mistakes in event management
- Several list files in parallel: everyone keeps their own Excel copy, and on day D nobody knows which is right.
- Issuing tickets too close to the date: no time left to fix wrong emails or resend tickets.
- One shared scanning account for every door: you lose the ability to know which door is busy and who scanned which entry.
- Skipping the wrap-up: next time you repeat exactly the same mistakes.
About Tickmi
Tickmi is a ticketing and attendee experience platform (Ticketing & Participant Experience Platform). On one unified attendee dataset, Tickmi connects the whole journey: issuing invitation, registration and paid tickets, sending branded QR tickets, check-in by app, kiosk or scanner — even offline — then the welcome screen, lucky draw, voting, quizzes and surveys. Tickmi is trusted by organisations such as Viettel, VNPT, MobiFone, FPT and CMC. Learn about Tickmi or try it free.
Frequently asked questions
What steps does the event management process include?
Five stages: planning, collecting the attendee list, issuing and sending tickets, running the event day, and wrap-up. Each stage ends with a clear output such as a clean list or an attendance report.
How far ahead should I start preparing the event?
For an event of a few hundred people, start planning about 4 weeks ahead and issue tickets at least 5–7 days before the event so there is time to fix failed emails.
Can I manage both existing guests and people who register themselves?
Yes. Existing guests are brought in with Excel import and new people register through the Registration page; everyone sits in one shared attendee list for the ticket product.
Do gate staff need administrator rights?
No. Create an account with the Check-in staff role: that person only scans tickets in the app and cannot view or edit attendee data.
Where do I get the numbers after the event?
See the Summary report for registrations and attendance, and the Scan history for each individual scan; the Owner or Administrators can Export data to a file.
Issue QR tickets, send emails, check in and engage attendees on one platform.